
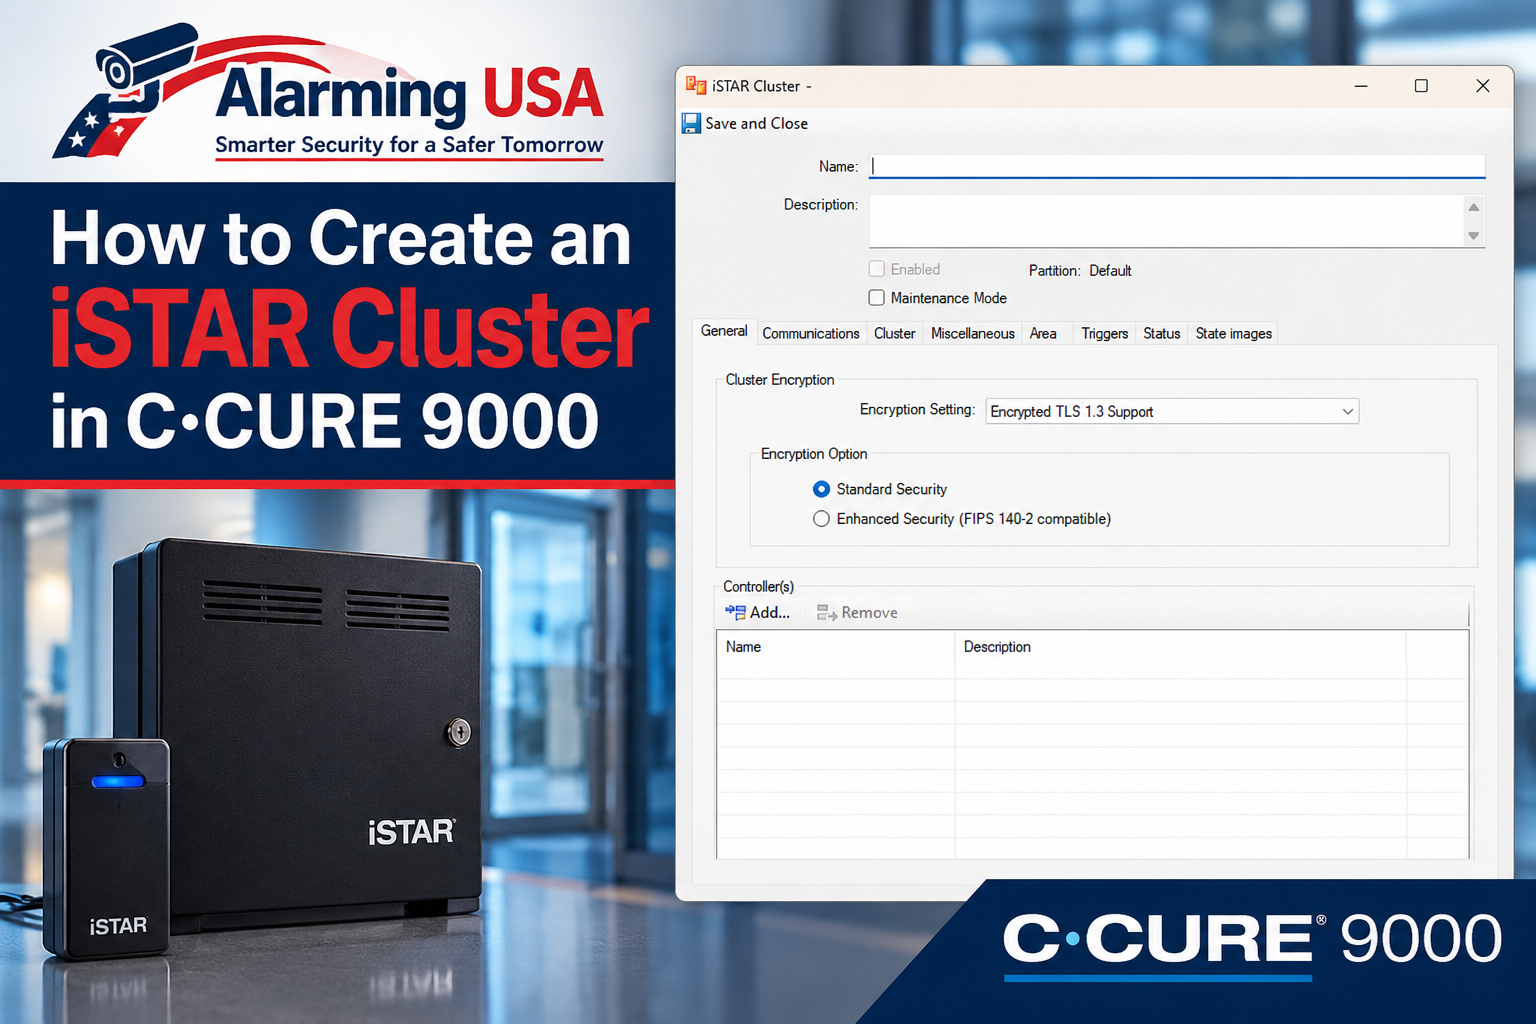
If you are adding a new iSTAR controller to C•CURE 9000, the first step is to create the iSTAR Cluster that will contain the controller. This guide shows how to create an iSTAR Cluster in C•CURE 9000 using the General tab.
How to Create an iSTAR Cluster in C•CURE 9000
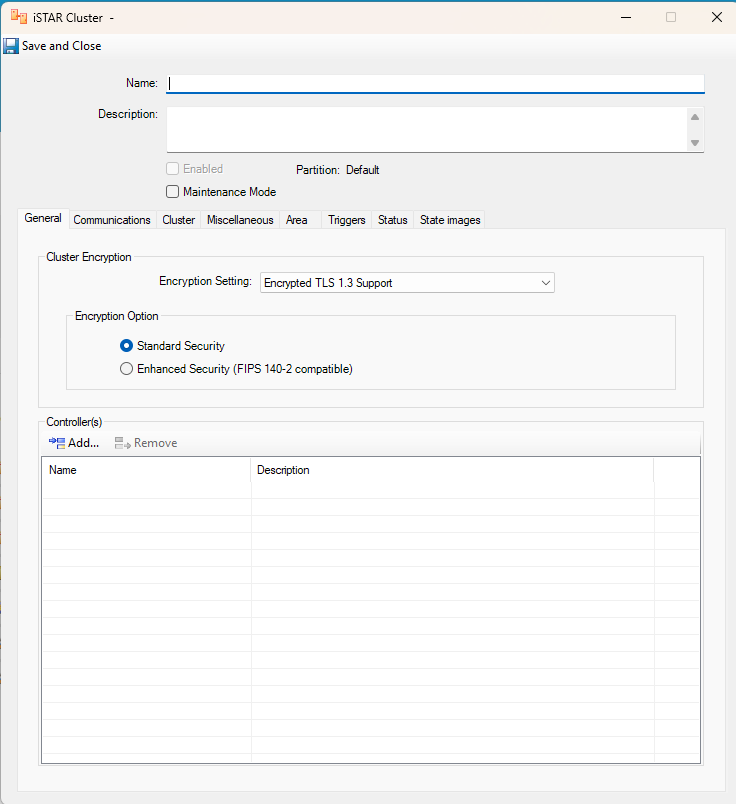
Open C•CURE 9000 Administration Station and create a new iSTAR Cluster. For this procedure, the General tab contains the settings needed to get the cluster started.
1. Enter the Cluster Name
Enter a clear, descriptive name in the Name field. Use the naming convention established for your C•CURE environment so the cluster can be easily identified later.
The Description field can be used to add additional information about the cluster, such as its location or purpose.
2. Leave the Cluster Disabled for Now
When initially creating the cluster, do not check Enabled yet. The cluster will be enabled after the iSTAR controller has been created and added to the cluster.
The Maintenance Mode option should also remain unchanged unless your specific installation requires it.
3. Review the Cluster Encryption Settings
In the Cluster Encryption section, review the encryption configuration required for your environment.
In the example shown here, the Encryption Setting displays Encrypted TLS 1.3 Support, and Standard Security is selected.
The screen also provides an Enhanced Security (FIPS 140-2 compatible) option. Use the security setting required by your organization’s C•CURE configuration and security standards.
4. Leave the Controller List Empty Until the Controller Is Created
The Controller(s) section at the bottom of the General tab is where controllers associated with this cluster will appear.
At this point in the process, the controller has not yet been created, so this list can remain empty. The controller will be created in the next part of the configuration process and then associated with the cluster.
5. Save the iSTAR Cluster
Review the cluster name and encryption settings, then click Save and Close.
The iSTAR Cluster now exists in C•CURE 9000, but remember that it has intentionally not been enabled yet. The next step is to create the iSTAR controller that will belong to this cluster.
What Comes Next?
The next guide in this C•CURE 9000 series will cover how to create and configure an iSTAR controller. After the controller has been created and associated with the cluster, the cluster can be enabled as part of the configuration process.
Frequently Asked Questions
Should I enable the iSTAR Cluster when I first create it?
No. In this workflow, leave Enabled unchecked until the iSTAR controller has been created and added to the cluster.
Do I need to configure every tab when creating the cluster?
For the workflow covered in this guide, the General tab contains the settings needed at this stage of the configuration.
Why is the Controller(s) section empty?
The controller has not been created yet. It will be created in the next step and then associated with the iSTAR Cluster.
Note: C•CURE 9000 installations can differ based on software version, controller hardware, security requirements, and site standards. Follow the configuration requirements established for your environment.