
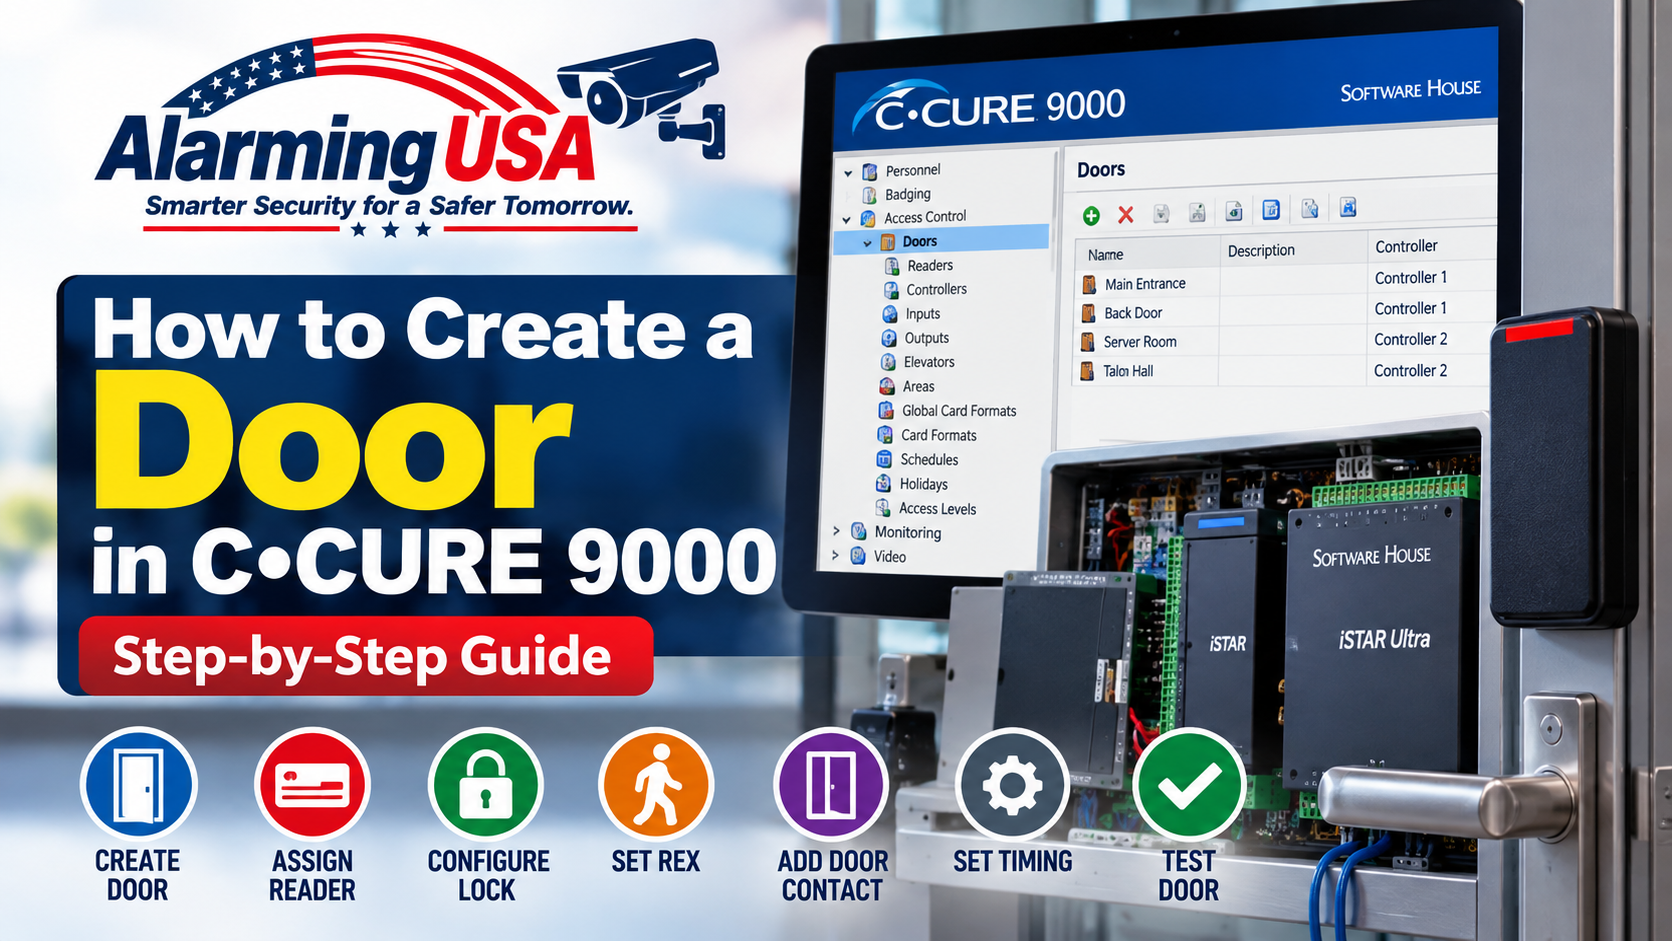
Creating a door in C•CURE 9000 involves more than simply adding a door name. A properly configured door brings together the reader, locking hardware, door contact, request-to-exit (REX) device, controller resources, and access settings so the complete opening operates correctly.
In this guide, we’ll walk through the main steps involved in creating and configuring a door in C•CURE 9000.
Before You Create the Door
Before beginning, verify that the controller and associated hardware have already been added to C•CURE 9000 and are communicating properly.
You should also know which controller resources will be used for the new door, including:
- Card reader
- Lock output
- Door contact
- Request-to-exit (REX) input
- Controller and applicable hardware module
Having this information before you begin makes the configuration process much easier and helps prevent assigning the wrong hardware resources.
1. Create the Door
Open the C•CURE 9000 Administration Station and navigate to the area used to configure doors.
Create a new door object and give the door a clear, descriptive name. Using a consistent naming convention is especially important on larger systems.
2. Assign the Door to the Correct Controller
Associate the new door with the controller and hardware resources that physically control the opening. Double-check the controller selection before continuing.
3. Configure the Card Reader
Configure the reader associated with the controlled side of the door. Verify that the reader configuration corresponds to the physical reader connected to the door.
4. Configure the Lock
Configure the output controlling the electric locking hardware. Make sure the output operation matches the way the physical locking hardware has been designed and wired.
5. Configure the Door Contact
The door contact allows C•CURE 9000 to monitor whether the door is physically open or closed. Verify the correct input and confirm that the displayed door state matches the actual physical condition of the door.
6. Configure Request-to-Exit (REX)
If the opening uses a request-to-exit device, configure the appropriate REX input and verify that the input changes state correctly when the exit device is activated.
7. Review Door Timing
Review settings such as unlock time and how long the door may remain open before the system considers the condition abnormal.
8. Save the Door Configuration
Review the configuration and verify that the correct reader, inputs, outputs, and controller resources have been assigned. Save the new door configuration.
9. Test the Door
After configuration, physically test the opening. At minimum, verify:
- A valid credential grants access correctly.
- An unauthorized credential does not unlock the door.
- The lock releases and secures correctly.
- The door contact reports open and closed conditions correctly.
- The REX device operates correctly.
- Door events appear correctly in C•CURE monitoring.
- Any configured door alarms operate as expected.
Common Problems to Check
- Confirm that the correct controller was selected.
- Verify the reader assignment.
- Verify the lock output assignment.
- Check the door-contact input.
- Check the REX input.
- Confirm that the controller is online and communicating.
- Verify that the credential being tested has the appropriate access privileges.
Final Thoughts
A C•CURE 9000 door is a collection of related access-control components working together. After creating the door, always perform a complete physical test of the opening rather than relying solely on the software configuration.
Important: C•CURE 9000 configurations can vary depending on software version, controller hardware, system architecture, connected devices, and site standards. Always verify settings against your organization’s approved configuration and current product documentation.