
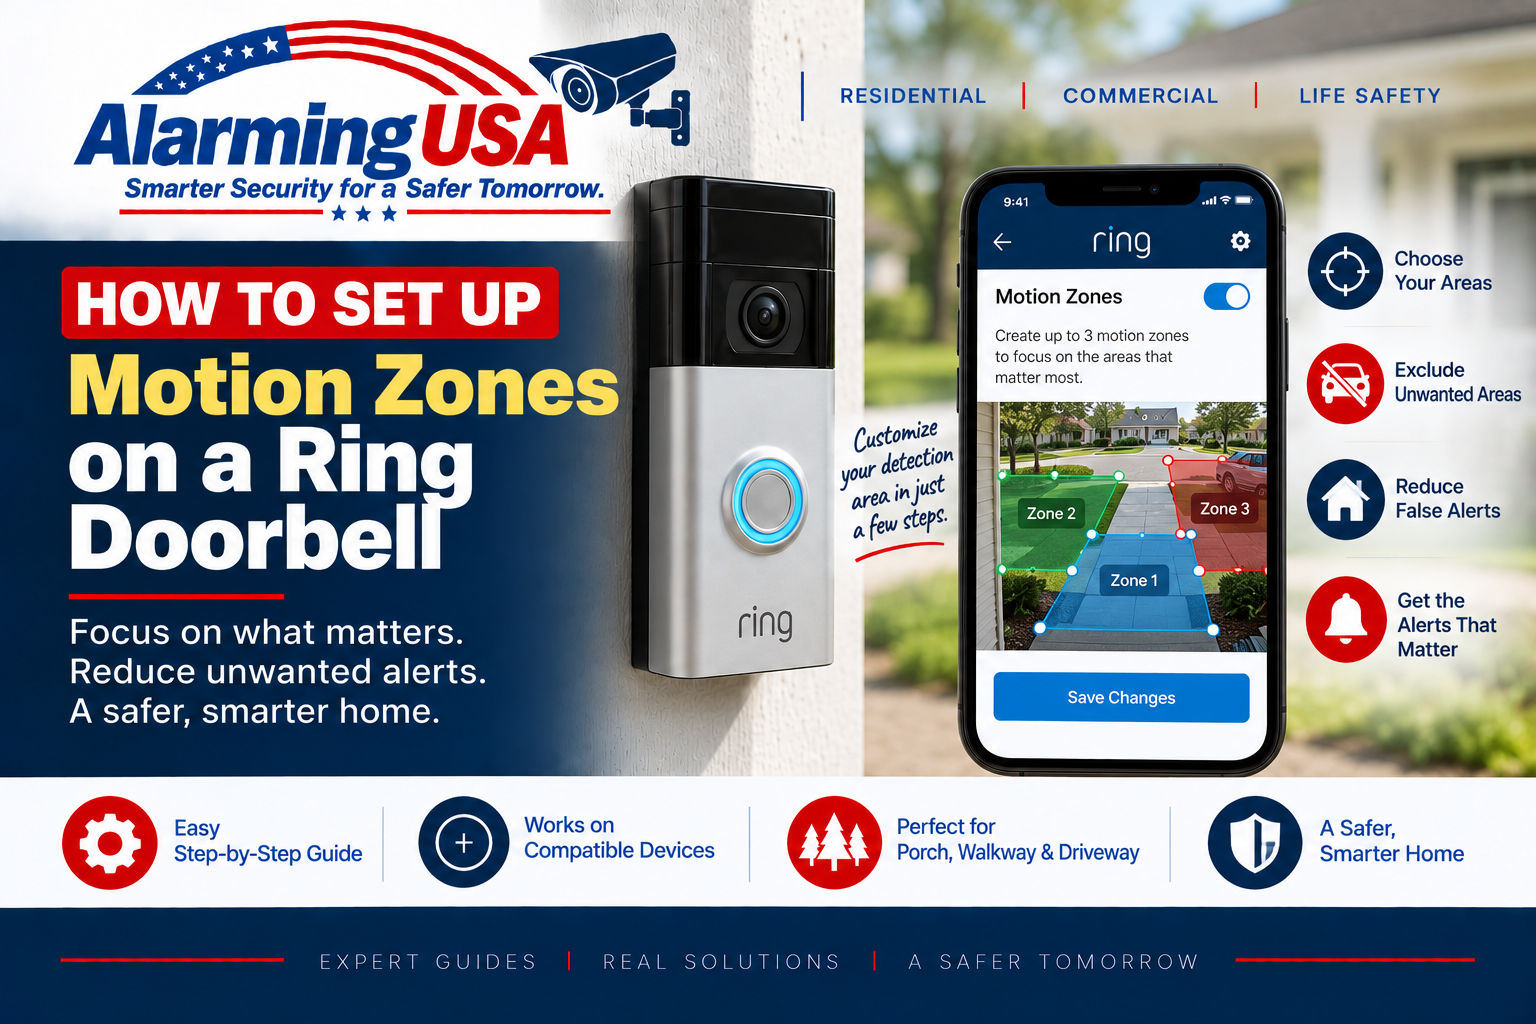
Ring Motion Zones let you focus motion detection on the parts of your camera view that matter most, such as a front porch, walkway, or driveway. This guide explains how to set up Ring Doorbell motion zones and fine-tune them to reduce unwanted motion alerts.
Ring says Motion Zones can help improve detection in important areas while reducing unwanted alerts from things such as passing vehicles. Ring currently allows up to three Camera Motion Zones per eligible device.
How to Set Up Ring Doorbell Motion Zones
In the Ring app, open your Ring Doorbell, go to Device Settings, select Motion Settings, and open Camera Motion Zones. From there you can add a zone, drag its boundary points around the area you want monitored, and save the new zone.
Step 1: Select Your Ring Doorbell
Open the Ring app to the main dashboard, tap the menu, select Devices, and choose the Ring Doorbell you want to configure. Confirm that the device is online before changing motion settings.
Step 2: Open Motion Settings
Tap Device Settings, then Motion Settings. Select Camera Motion Zones. Ring app labels can change as the app is updated, so use the equivalent Motion Settings option if your screen looks slightly different.
Step 3: Add a Motion Zone
Tap Add Zone. Your Ring Doorbell’s camera view will appear with an adjustable zone boundary. Drag the points so the zone covers the area where you want motion detected, then tap Save.
Step 4: Focus on the Areas That Matter
Shape the zone around useful areas such as your porch, front steps, walkway, or driveway. Try to exclude busy streets, sidewalks, moving vegetation, and other areas that repeatedly create unwanted motion events when those areas are not important to your monitoring goal.
Step 5: Add More Zones if Needed
Ring currently supports up to three Camera Motion Zones per eligible device. Separate zones can be useful when you want to monitor several distinct areas in the same camera view, such as a porch and driveway.
Step 6: Test Your Ring Motion Zones
After saving your zones, walk through the areas you expect the Ring Doorbell to detect. Then review the resulting event in the Ring app. Also test nearby areas you intentionally excluded to see whether your boundaries need additional adjustment.
How to Edit Existing Ring Motion Zones
Ring’s current instructions direct users to open the device, go to Device Settings > Motion Settings > Edit Zones, select the zone to adjust, drag its boundary points, and tap Save.
Use Motion Sensitivity With Motion Zones
Motion Zones determine where the Ring Doorbell looks for motion, while Motion Sensitivity helps control detection range. If your zones are correct but legitimate events are still being missed—or you are still getting too many alerts—see our guide to adjusting Ring Doorbell motion sensitivity.
What If Your Ring Doorbell Still Misses Motion?
If the zones look correct but your Ring Doorbell still misses visitors, check Motion Detection, sensitivity, schedules, Privacy Zones, Wi-Fi signal, and device position. Our Ring Doorbell not detecting motion guide walks through those checks.
Battery Ring Devices and Advanced Motion Detection
Ring notes that some battery-powered devices may require Advanced Motion Detection to use Camera Motion Zones. Check the Advanced Settings section under Motion Settings if the zone options you expect are not available.
What Are Bird’s Eye Zones?
Some newer compatible Ring devices also offer Bird’s Eye Zones. These use an aerial map to define motion areas more precisely and are separate from standard Camera Motion Zones. If your Ring Doorbell supports Bird’s Eye Zones, Ring recommends aligning them with the areas covered by your Camera Motion Zones.
Tips for Better Ring Motion Zones
- Prioritize the paths people actually use to approach your door.
- Exclude unnecessary portions of busy streets and sidewalks when possible.
- Watch for trees, flags, shadows, and reflections that may create unwanted motion.
- Test the zones after every major adjustment.
- Use Motion Sensitivity to fine-tune detection after the zone boundaries are correct.
Official Ring Motion Zone Guidance
Ring’s official support documentation explains how to add and edit Camera Motion Zones and recommends excluding high-traffic or unnecessary areas to reduce unwanted alerts. Available options can vary by Ring model and app version.
Final Thoughts
Learning how to set up Ring Doorbell motion zones gives you much more control over what your doorbell monitors. Start with the porch, walkway, driveway, or other areas that matter most, exclude unnecessary high-traffic areas, and then test the setup.
Once the zone boundaries are right, fine-tune Motion Sensitivity if necessary. Using both settings together can help reduce unwanted alerts while keeping important activity within your detection area.